
Scheduling and Updating the Rules with optional settings
Windows 10 / 11 / 2016 SE / 2019 SE / 2022 SE / 2025 SE
Last Date Revised: May 12, 2026
Written by: Michael E. Steele
Introduction
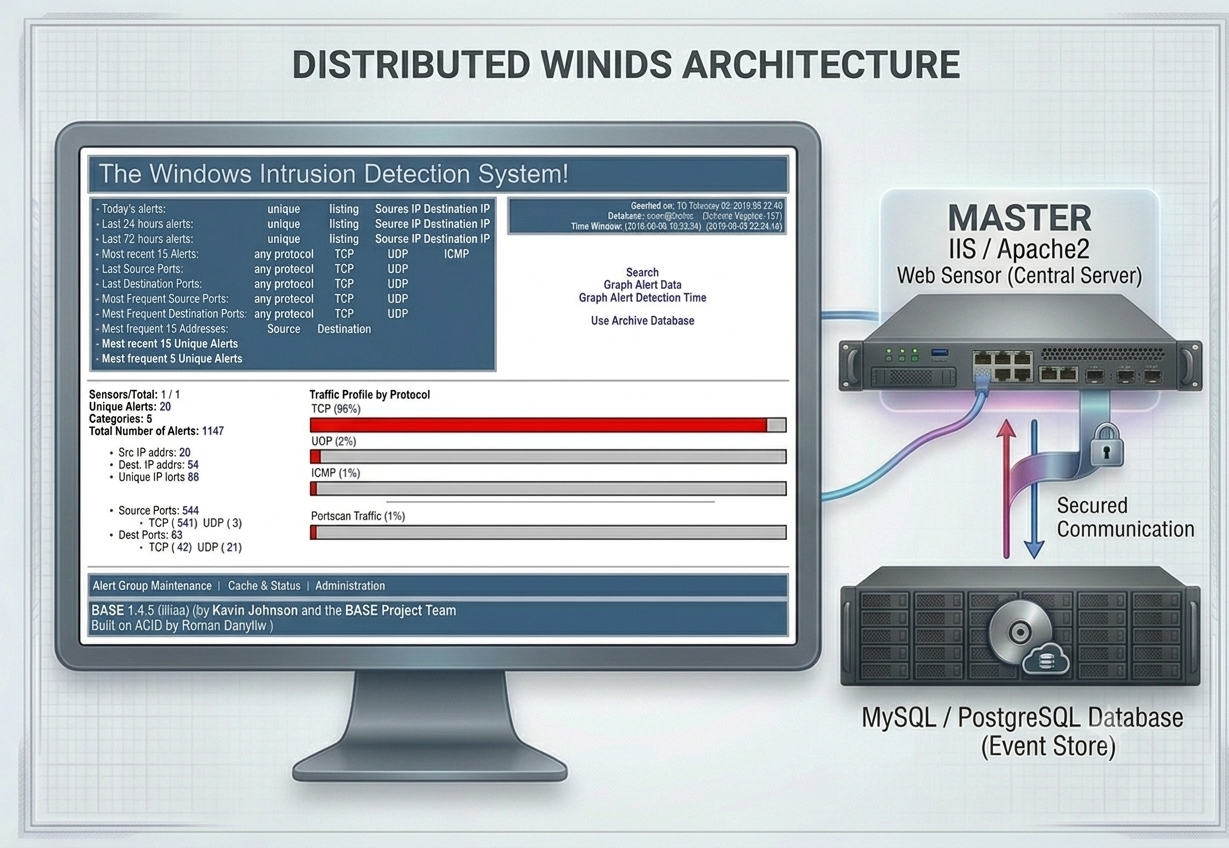
This tutorial provides the basic instructions on how to schedule and update rules on the Windows Intrusion Detection System (WinIDS).Copyright Notice
This document is Copyright © 2003-2026 Michael Steele. All rights reserved. Permission to distribute this document is hereby granted providing that distribution is electronic, no money is involved, and this copyright notice is maintained. Other requests for distribution will be considered.Use the information in this document at your own risk. Michael Steele disavows any potential liability of this document. Use of the concepts, examples, and/or other content of this document is entirely at your own risk.
This tutorial is written in the hope that it will be useful, but without any warranty; without even the implied warranty of merchantability or fitness for a particular purpose.
All copyrights are owned by their owners, unless specifically noted otherwise. Third-party trademarks or brand names are the property of their owners. Use of a term in this document should not be regarded as affecting the validity of any trademark or service mark. Naming of particular products or brands should not be seen as endorsements.
Get Support
All general support questions related to a specific tutorial MUST be directed to the specific forum for that particular tutorial. If there is any confusion, simply click the 'Get Community Support' button at the top of each tutorial to be transported to the correct forum!By request, a premium fee service is available for one-on-one support.
Scheduling a Rules update and the optional features for an existing Windows Intrusion Detection System (WinIDS)
Pulledpork is a powerful rule management tool used in managing the Windows Intrusion Detection System rules. Any changes to the rules will require the rules to be processed to activate those changes.
During the initial setup of the Windows Intrusion Detection System, the first set of rules was installed and manually processed using Pulledpork. The Rules Updater is a hook into Pulledpork with a couple of extra options added. I won't get into all the ins and outs of Pulledpork, as it is extensive.
The desktop shortcut for the Rules Updater will process the rules locally by default, and the progress will output to the open console window.
Remote and Master sensors should be scheduled with the directions below, or rules updates will need to be activated manually with the desktop shortcut. If scheduling has been activated, then the sendmail feature should also be activated if a valid SMTP server is available. If the rules update is scheduled, then email will be the only way to be notified of the status (completed successfully, not needed, or failed) of the rules update. As another feature, the emails will include the sensor name in the subject of the email where the rules update occurred.
Scheduling a Rules update for the Windows Intrusion Detection System (WinIDS)
The Rules Updater usually takes less than a minute to process if no updates are available, and could take up to several minutes if an update is available. The Rules Updater takes into account success and failure. The Rules Updater will restore the backup if an update happens and fails the validation process. The console will display the failure, and/or an email report will be sent if sendmail is active.
After a successful Rules update, the Snort process cycles, which means that Snort will not log alerts for approximately 15 seconds while Snort reboots (reloads the configuration and rereads all the rules).
There are several optional settings available in the Rules Updater:
Open a CMD window with Administrator privileges and type 'notepad2 d:\winids\activators\winruleup.ps1' (without the outside quotes) and tap the 'Enter' key.
After a successful Rules update, the Snort process cycles, which means that Snort will not log alerts for approximately 15 seconds while Snort reboots (reloads the configuration and rereads all the rules).
There are several optional settings available in the Rules Updater:
- The Rules Updater can be scheduled
- The Rules Updater can run silently
- Configuring wrong (snort -v -ix)
Use the Find option in Notepad2 to locate and change the variables below, and follow the comments in the script.
Configurations
    $sendmail = 0 # Turn off (0) sending email or turn on (1) sending email
    $silent   = 0 # Turn off (0) silent mode or turn on (1) silent mode if scheduling
SMTP Email Configurations
    $smtpServer   = ""  # Insert a valid SMTP Server address between the quotes
    $smtpPort     = 587 # Insert a valid SMTP Port (25 non-SSL), (587 SSL), (465 SSL)
    $smtpUser     = ""  # Insert a valid SMTP Username between the quotes - Use caution in keeping it secure!
    $smtpPassword = ""  # Insert a valid SMTP Password between the quotes - Use caution in keeping it secure!
    $from         = ""  # Insert a valid From email address between the quotes
    $to           = ""  # Insert a valid To email address between the quotes
Save the file and exit Notepad2.
Scheduling Rules Updates
At the CMD prompt, type 'taskschd.msc' (without the outside quotes), tap the 'Enter' key, and the Task Scheduler opens.In the right-hand pane under Actions, left-click "Create Task..." and the "Create Task" window opens.
In the "Name:" dialog box, type "Update WinIDS Rules".
To the left of "Run with highest privileges", left-click to place a check mark.
To the left of "Hidden", left-click to place a check mark.
To the right of "Configure for:", use the drop-down menu and select "Windows 10" (for all installs).
A popup notification may appear stating "You must enter..." — just left-click "OK".
Left-click the "Actions" tab and left-click the "New..." button.
To the right of "Action:", left-click the drop-down menu and select "Start a program".
In the field under "Program/script", type "powershell.exe" (without the outside quotes).
In the "Add arguments (optional)" field, type "-ExecutionPolicy Bypass -NoProfile -WindowStyle Hidden -File D:\winids\activators\winruleup.ps1" (without the outside quotes) and left-click "OK".
Left-click the "Triggers" tab and left-click the "New..." button.
To the right of "Begin the task:", use the drop-down menu and select "At startup".
To the left of "Repeat task every:", left-click to place a check mark.
To the right of "Repeat task every:", use the drop-down menu and select "1 hour".
To the right of "for a duration of:", use the drop-down menu and select "indefinitely".
Note: The "Repeat task every:" and "for a duration of:" options are only suggestions and can be adjusted as needed. The above settings will check for a new rule update every hour for an indefinite period of time, sending an email after each run.
To the left of "Enabled", make sure it is checked, and left-click "OK" to complete adding the task.
Note: To test the script, under "Name" there should be an "Update WinIDS Rules" task listed. Left-click to highlight the "Update WinIDS Rules" task, and on the right under "Selected Item", left-click "Run".
It usually takes about a minute to send an email result if no rules update has happened, and several minutes if one has. If no email has been received, then there is an issue with the SMTP configuration or the interface setting in the script.
To test email when a new rules update has happened, delete all the files in the "D:\winids\script\temp" folder and run the script. An email should be received in less than 5 minutes with the results.
In Conclusion
Congratulations! Rules can now be automatically updated using a scheduled task with email as the reporting method, or manually by running the script via the desktop icon, which outputs directly to an open console window.Optional Companion Documents
Be SURE to check out the available 'Companion Add-on Documents' to enhance the Windows Intrusion Detection System (WinIDS) experience.
- How to add Event Logging to a local Syslog Server.
This tutorial will show how to configure Snort to send events to a local Syslog Server on an existing Windows Intrusion Detection System (WinIDS). - How to add Event Logging to a remote Syslog Server.
This tutorial will show how to configure Snort to send events to a remote Syslog Server from an existing Windows Intrusion Detection System (WinIDS). - How to add Email Alerting to an existing Windows Intrusion Detection System (WinIDS)
This tutorial will show how to email user-defined priority events on an existing Windows Intrusion Detection System (WinIDS). - How to schedule automatic rules updating
This tutorial is a simple-to-understand process on how to schedule automatic rules updating. - How to compile Barnyard2 on Windows using Cygwin
This tutorial is a simple-to-understand, step-by-step guide for compiling Barnyard2 on Windows using Cygwin (UNIX emulator). - How to build and deploy a passive Ethernet tap
This tutorial will show how to build and deploy a passive Ethernet tap.
Updating the Windows Intrusion Detection System (WinIDS) Major components
- How to update the Snort Intrusion Detection Engine
This tutorial will show how to update the Snort Intrusion Detection Engine. - How to update the Windows Intrusion Detection System rules
This tutorial will show how to update the Windows Intrusion Detection System rules.
Debugging Installation errors
Check the Event Viewer, as most of the support programs will throw FATAL errors into the Windows Application log.General tutorial issues
For general problem issues that pertain to this specific tutorial, left-click the 'Get Community Support' button at the top of this tutorial, or manually navigate to the correct community support forum pertaining to this specific tutorial.Feedback
I would love to get feedback from you about this tutorial. For any recommendations or ideas, please leave feedback HERE.Michael E. Steele | Microsoft Certified Systems Engineer (MCSE)
Email Support: support@winsnort.com
Snort: Open Source Network IDS - www.snort.org